
5 Common Lock Installation Mistakes—and How to Avoid Them
Share
Installing a new door lock doesn’t have to be a headache. Skip these slip‑ups and you’ll have your lock in place—secure and smooth—before you know it.
1. Skipping the Measurements
What happens: You start drilling only to find the latch won’t line up or the door feels loose.
How to fix it: Grab a tape measure (or use the handy paper template). Double‑check your door’s thickness (usually 35–45 mm) and the backset (2‑3/8″ or 2‑3/4″). Measure twice, drill once!
2. Forgetting Left vs. Right
What happens: Your lever feels backwards or jams when you twist it.
How to fix it: Stand outside, look at the hinges—left side means left‑handed, right side means right‑handed. Flip the lever cam or latch orientation before you bolt it on so everything turns the right way.
3. Ditching the Template
What happens: Holes end up off‑center, wood splinters, and the lock looks crooked.
How to fix it: Tape the full‑scale paper template in place, use a level, mark your drill points, and start with pilot holes. Follow up with the final drill size—no guesswork needed.
4. Overtightening (or Not Tight Enough)
What happens: Too tight and you strip screws or warp the faceplate; too loose and the lock rattles or shifts.
How to fix it: Snug screws until the lock sits flush—no gaps, no grinding. Test the deadbolt: it should slide smoothly into the strike plate without scraping.
5. Skipping the Final Test
What happens: You walk away thinking it’s done, only to find a sticky latch or a keypad that won’t register codes.
How to fix it: Before you call it quits, lock and unlock 10–20 times. Pull the handle, enter a code (if it’s a smart lock), and make sure everything feels smooth. If something’s off, tweak the strike plate or run a quick calibration.
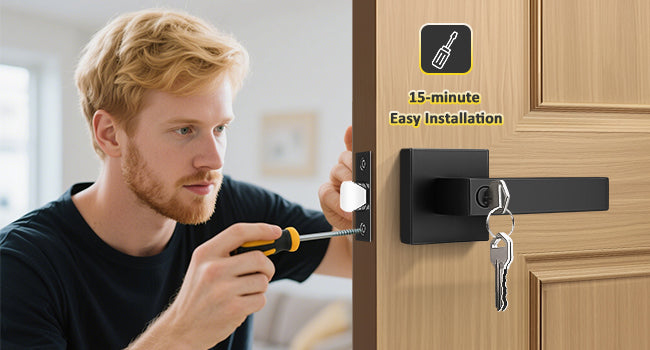
Pro tip: Use the paper templates and video guides on Tinewa’s website to make each step a breeze. With a little prep, you’ll have your new lock installed in under 15 minutes—no extra trips needed.
Happy DIY’ing! 🔒✨